Friday, 9 November 2012

Smores Cupcakes


It's a Graham Cracker cupcake, topped with marshmallow fluff and drizzled in milk chocolate.  What "Smore" do you need to know?  Oh, except how to make one yourself.  Here you go....

Ingredients:

115g (1 1/2 cups) graham cracker crumbs
57g (3/4 cups) all purpose flour
2 1/2 teaspoons baking powder
pinch of salt
125g (1 /2 cup) butter
200g (3/4 cup) sugar
2 eggs
1 teaspoon vanilla
175 ml (3/4 cup) whole milk

For the topping:
1 jar of Marshmallow Fluff
Milk Chocolate

Method:

Preheat Oven to 175C / 350F / Gas Mark 4

In a bowl, whisk together graham cracker crumbs, flour, baking powder and salt and set aside.

In the bowl of an electric mixer, combine butter and sugar and beat on high speed until very light and fluffy.  The mixture should look almost like whipped cream.  I have a stand mixer and this takes approx 5 minutes with my mixer.

In a cup, combine the eggs and vanilla and whisk together.  Reduce the speed to low and add the egg mixture slowly just a bit at a time.

By hand, stir in flour and milk.  Start with 1/3 of the flour, then 1/2 milk, then 1/3 flour, etc.  Stiring each time just until combined.  You want to keep the mixture light and airy.

Spoon into your baking cases and bake for 20 minutes.

Cool completely then top with Marshmallow Fluff and Melted Milk Chocolate to serve.

Homemade "Honey Grahams" Graham Crackers


For those of you who may be unfamilar, below is a picture of a traditional Graham Cracker.  Don't let the word "cracker" fool you.  They are sweet and taste more similar to a biscuit, but have the crisp texture of a cracker.  I've heard lots of people compare them to Digestive Biscuits when it comes to baking.  Personally I think the only thing they have in common with a Digestive Biscuit is they are both commonly crushed up and used as a pie crust.  Graham Crackers have their own distinct and lovely flavour which is nothing like a Digestive.


This week I was given the task to produce some bakes for the my daughters School bakesale.  An obvious opportunity to try something different.  I decided to make some Smores Cupcakes.  More about that on another post, but in order to make them I first had to have some Graham Crackers.  Graham Crackers are not commonly sold in the UK unless you go to a specialist store that sells USA Grocery items, like Selfridges or the Stateside Candy Company.  

Rather than order them I decided to make them.  They came out so nice that I reserved a few (rather than crush them all up) to give to the bake sell in their own right.  

Fancy making your own homemade Honey Gram Graham Crackers?  Here's how.......


Ingredients:
340g (1 1/2 cups) all purpose flour
315g (1 1/3 cups) whole meal flour
1 teaspoon bicarbonate of soda
1 teaspoon cinnamon
1/2 teaspoon salt
250g (1 cup) unsalted butter at room temperature
157g (2/3 cup) dark brown sugar
5 tablespoons honey
water (approx 5 tablespoons) 

Method:

1. In a bowl, whisk together all purpose flour, whole meal flour, bicarbonate of soda, cinnamon and salt and set aside.

2.  In a bowl, combine butter, brown sugar and honey and beat until very light and fluffy, about 2 minutes.  Scrape down the sides of the bowl.  Add the flour mixture and mix on low just until blended and mixture comes together.  Mixture should not be dry, it should come together into a ball of dough.  If needed add water a tablespoon at a time until the mixture is no longer dry and comes together.  Mine took approx 5 tablespoons of water, you may need more or less.  

3.  Cover dough in plastic wrap and refrigerate at least 1 hour or up to 5 days.

4.  To bake.  Preheat oven to 175C /350F /Gas Mark 4.  Roll out dough on a lightly floured surface to very thin, about 1/8 inch.  Traditionally these would be cut into rectangles or squares like the photo above, but I used a cookie cutter to cut mine.  Use your imagination, their your crackers :)   

5.  Bake for 8 minutes, then rotate the pan and bake approx 4 more minutes.  Keep an eye on them and take them out when they are golden and firm to the touch.  Transfer to a cooling rack and cool completely before serving.  Can be stored in an airtight container for 5 days.


Tuesday, 6 November 2012

Lokma


In Turkish they say Lokma 

in English I say Sticky Syrupy Yummy Doughnuts


My step-daughter first introduced me to Lokma.  They are a popular Turkish dessert.  Similar to doughnuts.  Perfect little fried doughballs soaked in syrup. If you need any further convincing that you should try these then we have nothing in common.  LOL.  Mmmmmmmm.

I tried 3 recipes before I got this right but once I did get the mixture right they where very easy to make.  Now mine are not perfect little round balls like you find in the patisserie.  I'll have to figure out how they do that and get back to you.  They are homemade and look it.  But the taste is spot on.

Ingredients

250g plain flour
6g dried yeast
1 tsp sugar
1 tsp salt  
275 ml very warm water
oil for frying

For the Syrup
640g granulated sugar
300 ml water
juice of half a lemon

Method

Add the dry ingredients to a mixing bowl.  Sift together.  Make a well in the middle and add the warm water.  Whisk by hand until the mixture is smooth.  It should be a runny consistency.  Cover with a clean towel and leave in a warm place for 1 hour or until the mixture has doubled in size.

While you are waiting for the dough to rise make the syrup.  Heat sugar and water in a saucepan just until boiling.  As soon as it starts to boil reduce the heat to a simmer and simmer for 10 minutes.  Turn off heat and add lemon juice.  Leave to cool.

Once your dough is ready (it will still look watery but will be risen and airy in consistency).  Heat some oil in a frying pan, not too much, it does not need to cover the lokmas, I used about 1 1/4 cups of oil in my pan.

The dough will be a little bit stick so you may find it helpful to grease your spoon first to help prevent sticking.  I also read somewhere to dip the spoon in water each time to help prevent sticking which does work but be careful as any water going into the pan will cause it the grease to pop at you.

I tried first to use a teaspoon but felt the doughballs where a bit too small, so I switched to a tablespoon and this is what I stayed with but felt they where a bit too large.  So what I would suggest and what I will do next time is still use the tablespoon but scoop up a bit less dough.   I know this is just me being overy analytical because I know what size the ones in the patisserie are, it probably doesn't really matter, they all taste the same.  So really you could just ignore me and do whatever you like :)

Moving on, drop spoonfulls of dough into the hot oil and fry turning as they cook until golden brown (about 1 minute).  They should puff up as they cook.  Remove onto a plate lined with a paper towel.

Once all cooked place doughballs into the cooled syrup and allow them to soak in the syrup for 5 to 10 minutes.  Transfer to serving dish and enjoy!


Happy Bonfire Night!


Wednesday, 31 October 2012

Pumpkin Pie Ice Cream


Homemade Pumpkin Pie Ice Cream

(and you don't need an Ice Cream Machine to make it!)

Back in August I was in the market for an Ice Cream maker.  You don't see Peach Ice Cream in the shops here in London, well at least I haven't.  And it was always a favorite of mine growing up so I got the idea to make some Homemade Peach Ice Cream.  I got side tracked with plans for my Daughter's Birthday party and never bought the machine or made the Ice Cream.  Then last week Mary Berry did a special on homemade ice cream in her Great British Food Revival series and I discovered that you don't need an Ice Cream Maker to make Ice Cream.  Something I never thought about.  So I decided to give it a go now.

I do love Peach Ice Cream, but it's October and would seem a shame not to do something more true to the season so I've made Pumpkin Pie Ice Cream instead.  And it was a hit with everyone in my family.  I hope you enjoy it too :)

Ingredients:

113g (4oz) Fresh pumpkin puree or canned unsweetened pumpkin puree
1 tsp. vanilla extract
170g (6 oz) heavy cream + 57g (2oz) heavy cream
57g (2oz) firmly packed dark brown sugar
28g (1oz) caster sugar
5 egg yolks
1/2 tsp. ground cinnamon
1/2 tsp. ground ginger
1/4 tsp. salt
1/4 tsp. nutmeg
1 tbsp.whisky

Directions:

I made my pumpkin puree, but I've used the tin pumpkin for other recipes and it is just as good. You can find tin pumpkin online and I have also seen it in store in Waitrose.

If you are making your own pumpkin puree make sure you choose an edible pumpkin.Preheat oven to 200C / 400F/ Gas Mark 6. I used one medium pumpkin removed the stem and cut into quarters lengthwise. Bake cut side down, in a shallow dish with a little water in the bottom for 1 hour. Let cool, scrape out the seeds, cut the flesh from the peels, and force it through a mesh sieve.

In a bowl, whisk together the pumpkin puree and vanilla. Cover and refrigerate for at least 3 hours or up to 8 hours.

In a heavy 2-quart saucepan over medium heat, combine 170g of the cream and 57g brown sugar. Cook until bubbles form around the edges of the pan, about 5 minutes.

Meanwhile, in a bowl, combine the egg yolks, caster sugar,cinnamon, ginger, salt, nutmeg and 57g heavy cream. Whisk until smooth and the sugar begins to dissolve.

Pour the egg mixture into the pan. Cook over medium heat, stirring constantly with a wooden spoon and keeping the custard at a low simmer, until it is thick enough to coat the back of the spoon, 4 to 6 minutes. Do not allow the custard to boil. Strain through a fine-mesh sieve into a bowl.

Place the bowl in a larger bowl partially filled with ice water, stirring occasionally until cool.

Whisk the pumpkin mixture into the custard. Cover with plastic wrap, pressing it directly on the surface of the custard to prevent a skin from forming. Refrigerate until chilled, at least 3 hours or up to 24 hours.

From here if you have an Ice Cream Maker you can transfer your mixture to the maker and follow the instructions. Add the whisky in the last minute of churning. Transfer to a freezer safe container and freeze at least 3 hours before serving.

If, like me, you don't have an ice cream maker. Put your mixture in a freezer safe container and freeze for 30 minutes. Remove from the freezer after 30 minutes and with an electric beater beat the mixture until smooth making sure to break up any ice crystals that may have forned. Repeat every 30 minutes for 3 hours. Then allow the mixture to freeze until firm before serving, approx 3 additional hours.


Tuesday, 23 October 2012

Moorishly Delicious Gingerbread Cake


As you may have noticed I made some Gingerbread Cookies for the first time last week.  I had some ingredients left over and thought it would be nice to find a Gingerbread Cake recipe to use them.  I came across this recipe from The English Kitchen.  She claimed it was the "Worlds Best Gingerbread Cake" so it is the one I decided to try.  I had to change a few ingredients as I did not have them to hand but have to say it came out simply DELICIOUS!  Seroiusly, give it a go, you won't be disappointed.


Gingerbread Cake
170g / 6 oz Golden syrup
3/4 tsp of bicarbonate of soda
295g / 10 oz boiling water 
1.5 tsp ground ginger
1.5 tsp ground cinnamon
240g / 8.5oz plain flour 
2 1/4 tsp baking powder
1/4 tsp salt

6 TBS butter, softened
158g / 5.6 ounces dark Muscovado sugar 
1 large free range egg at room temperature

Preheat the oven to 180*C/350*F/ gas mark 4. Butter and flour a 9 inch square baking tin. Set aside.

Add the syrup  and bicarbonate of soda to the boiling water. Set aside and let cool to room temperature.


Whisk together the flour, spices, baking powder and salt. Set aside. 


Cream together the butter and brown sugar until light and fluffy. Beat the egg with a fork, and then beat it into the creamed mixture a little bit at a time. 

On low speed add the cooled syrup mixture to the creamed mixture. Stir in the dry ingredients only to blend. The mixture will look runny/watery.

Pour into the prepared baking tin.  

Bake for 30 to 40 minutes, until well risen and the top springs back when lightly touched, or a toothpick inserted into the centre comes out clean.

Serve with Spiced Lemon Sauce

100g / 3.5 ounces caster sugar 
1 TBS cornflour (cornstarch)
pinch salt
1/4 tsp freshly grated nutmeg
250ml of boiling water 
1 TBS butter
1 tsp finely grated fresh lemon zest
the juice of one lemon

Whisk the sugar, nutmeg, salt and cornflour together in a saucepan. Slowly whisk in the boiling water. Cook until thickened, whisking constantly. Whisk in the butter, lemon zest and lemon juice. Remove from the burner and keep warm. Serve spooned over squares of the gingerbread.

Friday, 19 October 2012

Halloween Gingerbread Lantern


Following on from watching the great British Bake off a few weeks ago where they where making amazing Gingerbread structures, I decided to have a go at my own.  I wish I could say it was as easy as it looked, but at least I've learned something new and had fun doing it.  

I put together a template of scary sillouhettes to make up a Gingerbread Lantern. You can find the recipe and templates at the bottom of this post.    


I cut out each template using a PME Craft Knife and baked until golden.  Some of the detail in these templates is fine and hard to cut out.  I should have gone back over it once the gingerbread was cooked but still hot out of the oven and could have made the details sharper.  But I left it too long and the gingerbread was to hard to cut once cooled.


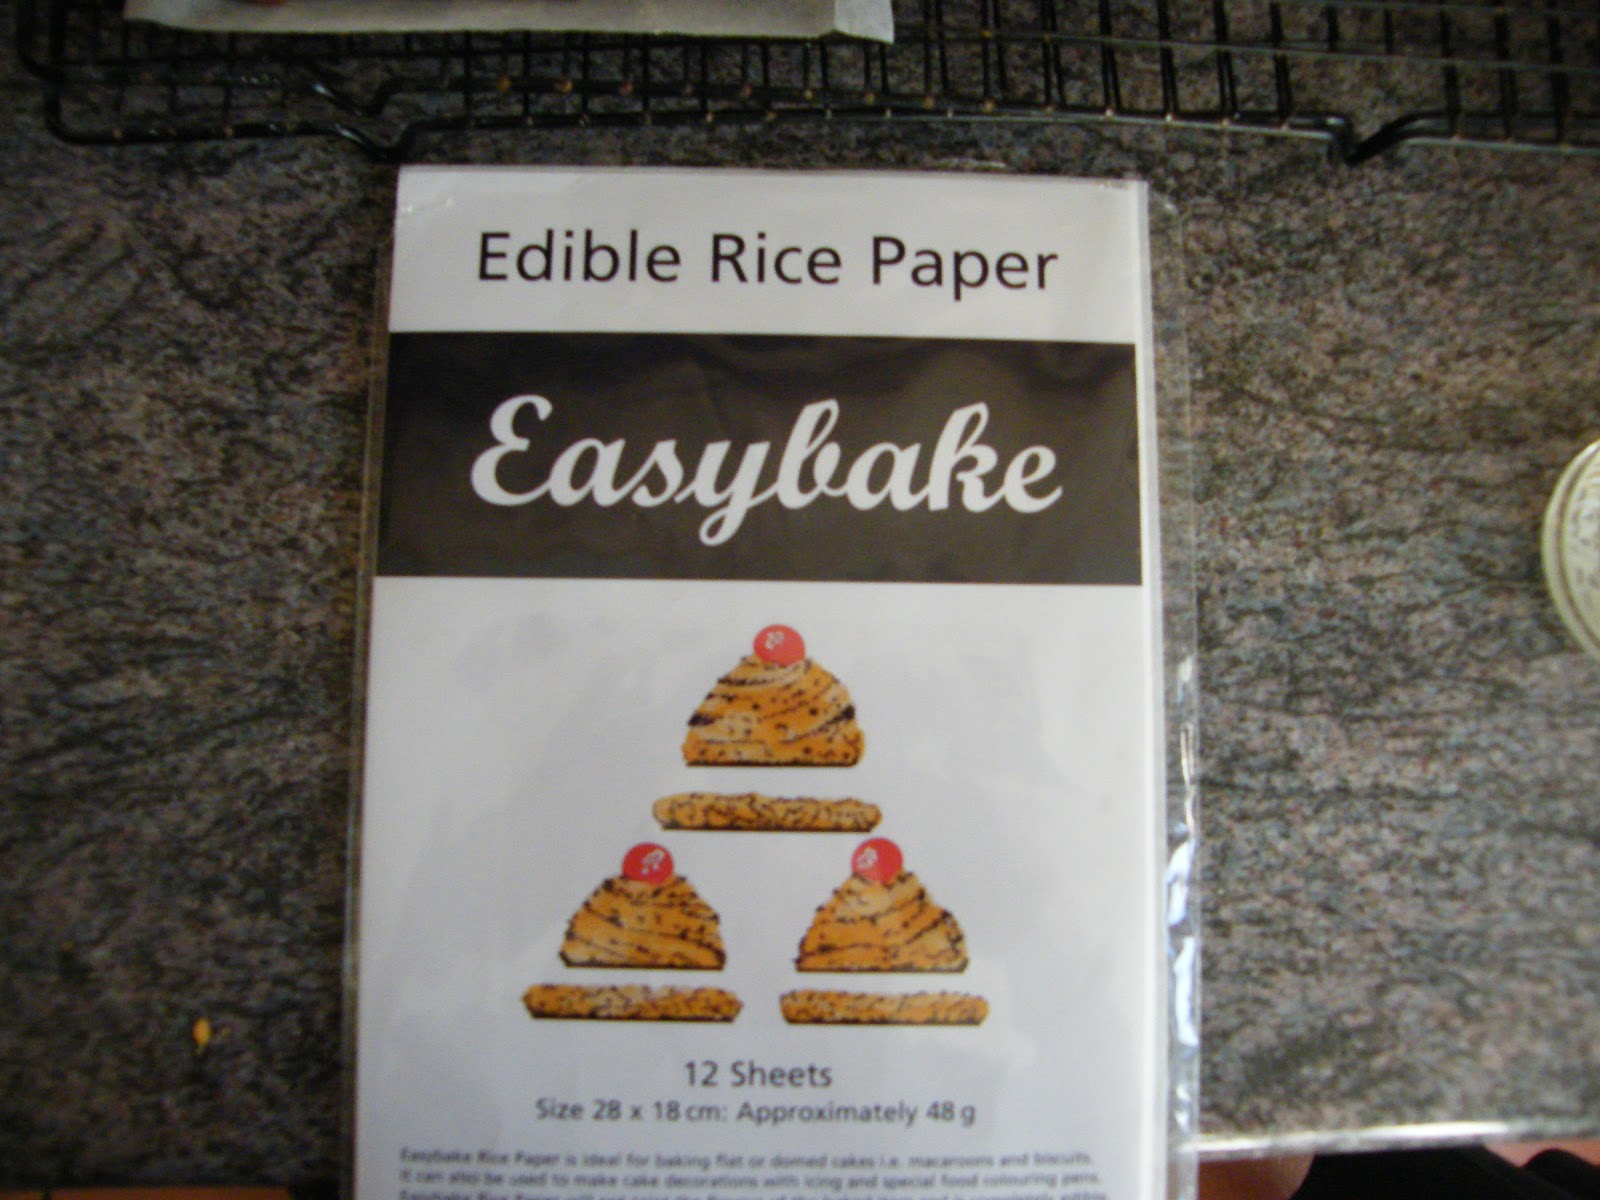
 My lantern is glued together with Royal Icing tinted Orange and Black and I used edible rice paper to line my lantern and give a more realistic look when lit. 


Maybe it's not a show stopper but I was pleased and think it would make a very nice centre piece for a Halloween Party.  


Gingerbread

  • 250g unsalted butter
  • 200g dark muscovado sugar
  • 7 tbsp golden syrup
  • 600g plain flour
  • 2 tsp bicarbonate of soda
  • 4 tsp ground ginger
  • 2 tsp cinnamon


  1. Heat oven to 200C/fan 180C/gas 6. Melt the butter, sugar and syrup in a pan. Mix the flour, bicarbonate of soda and ground ginger and cinnamon into a large bowl, then stir in the butter mixture to make a stiff dough. If it won't quite come together, add a tiny splash of water.
  2. On a piece of greaseproof/baking paper roll out dough to about the thickness of 2 £1 coins.  Cut out the shapes and transfer still on the greaseproof/baking paper to a cookie sheet.   Bake for approx 10-12 minutes.  


Monday, 1 October 2012

Cannoli Gannoli!


It's been a few years since I had a good Cannoli.  I used to make them back home where I could buy the ready made shells for them in the supermarket and just fill them.  I had actually bought the formers for making the shells and never even opened them.  I always thought that making Cannoli shells would be difficult and just never gave it a go.


My Cannoli formers made their way across the Atlantic with the rest of my household goods and lived in my loft until last Friday when my Husband invited some friends around for Dinner. I'm the only person I know that plans what to have for Dinner around Dessert.  But that is exactly what I did.  I recently saw an episode of Carfellas on the Discovery Channel where they were arguing over how to pronounce Cannoli (Cannoli or Gannoli).  It got me thinking about my Cannoli formers again and I decided I wanted to use them.  Italian night it is!

On the menu,
Bruschetta
Rosemary and Thyme Grilled Chicken served with Salad and Butternut Squash Risotto
and for Dessert, Cannolis!

It was a bit of work to make them, but not overly difficult and I was definetly glad that I did.  I know I will be using them again.

If you would like to have a go you will need

For the shells
A set of Cannoli Forms
415g (1 3/4 cups) unsifted plain flour
1/2 teaspon salt
2 tablespoons granulated sugar
1 egg, slightly beaten
2 tablespoons firm butter, cut into small pieces
about 60ml (1/4C) White Wine
Oil for deep frying

Sift flour with salt and granulated sugar.  Make a well in the centre.  In it place egg and butter.  Stir with a fork , working from centre out to moisten flour mixture.  Add wine, 1 tablespoon at a time, until dough begins to cling together (note the recipe says 60ml of white wine but I ended up needing more than this as the mixture still looked dry.  I just kept adding it a tablespoon at a time until the dough came together).  Use your hands to form dough into a ball.  Cover and let stand for 15 minutes.

Roll dough out on a floured board to about 1/16 inch thick.  You want them pretty thin as they will puff up when you fry them.  Cut into 3 1/2inch circles.  With rolling pin, roll the circles into ovals.  Wrap around the Cannoli Forms and seal the edge with egg white, pressing together. Turn out the ends of the dough to flair slightly.

Fry in oil heated to approx 350F (175C) for about 1 minute.  Watch carefully as sometimes it does not take a full minute to cook.  You want them to be lightly golden.  Remove with tongs and place on a paper towel to drain.  The Cannoli form shoud be cool enough to handle after about a minute so you can carefully slip the shell off the form and reuse the form . Cool the shells completely before filing.  You can make them a day in advance to save time if needed.

For the filling

950g ricotta cheese
350g icing sugar
125g chocolate chips
4 teaspoons vanilla

Mix Ricotta Cheese until very smooth.  Fold in icing sugar and vanilla.  Mix in chocolate chips.  Chill for several hours or overnight.

Use a Piping bag to pipe the mixture into the prepared shells.

Makes approx 25 Cannolis