Friday, 19 October 2012

Halloween Gingerbread Lantern


Following on from watching the great British Bake off a few weeks ago where they where making amazing Gingerbread structures, I decided to have a go at my own.  I wish I could say it was as easy as it looked, but at least I've learned something new and had fun doing it.  

I put together a template of scary sillouhettes to make up a Gingerbread Lantern. You can find the recipe and templates at the bottom of this post.    


I cut out each template using a PME Craft Knife and baked until golden.  Some of the detail in these templates is fine and hard to cut out.  I should have gone back over it once the gingerbread was cooked but still hot out of the oven and could have made the details sharper.  But I left it too long and the gingerbread was to hard to cut once cooled.


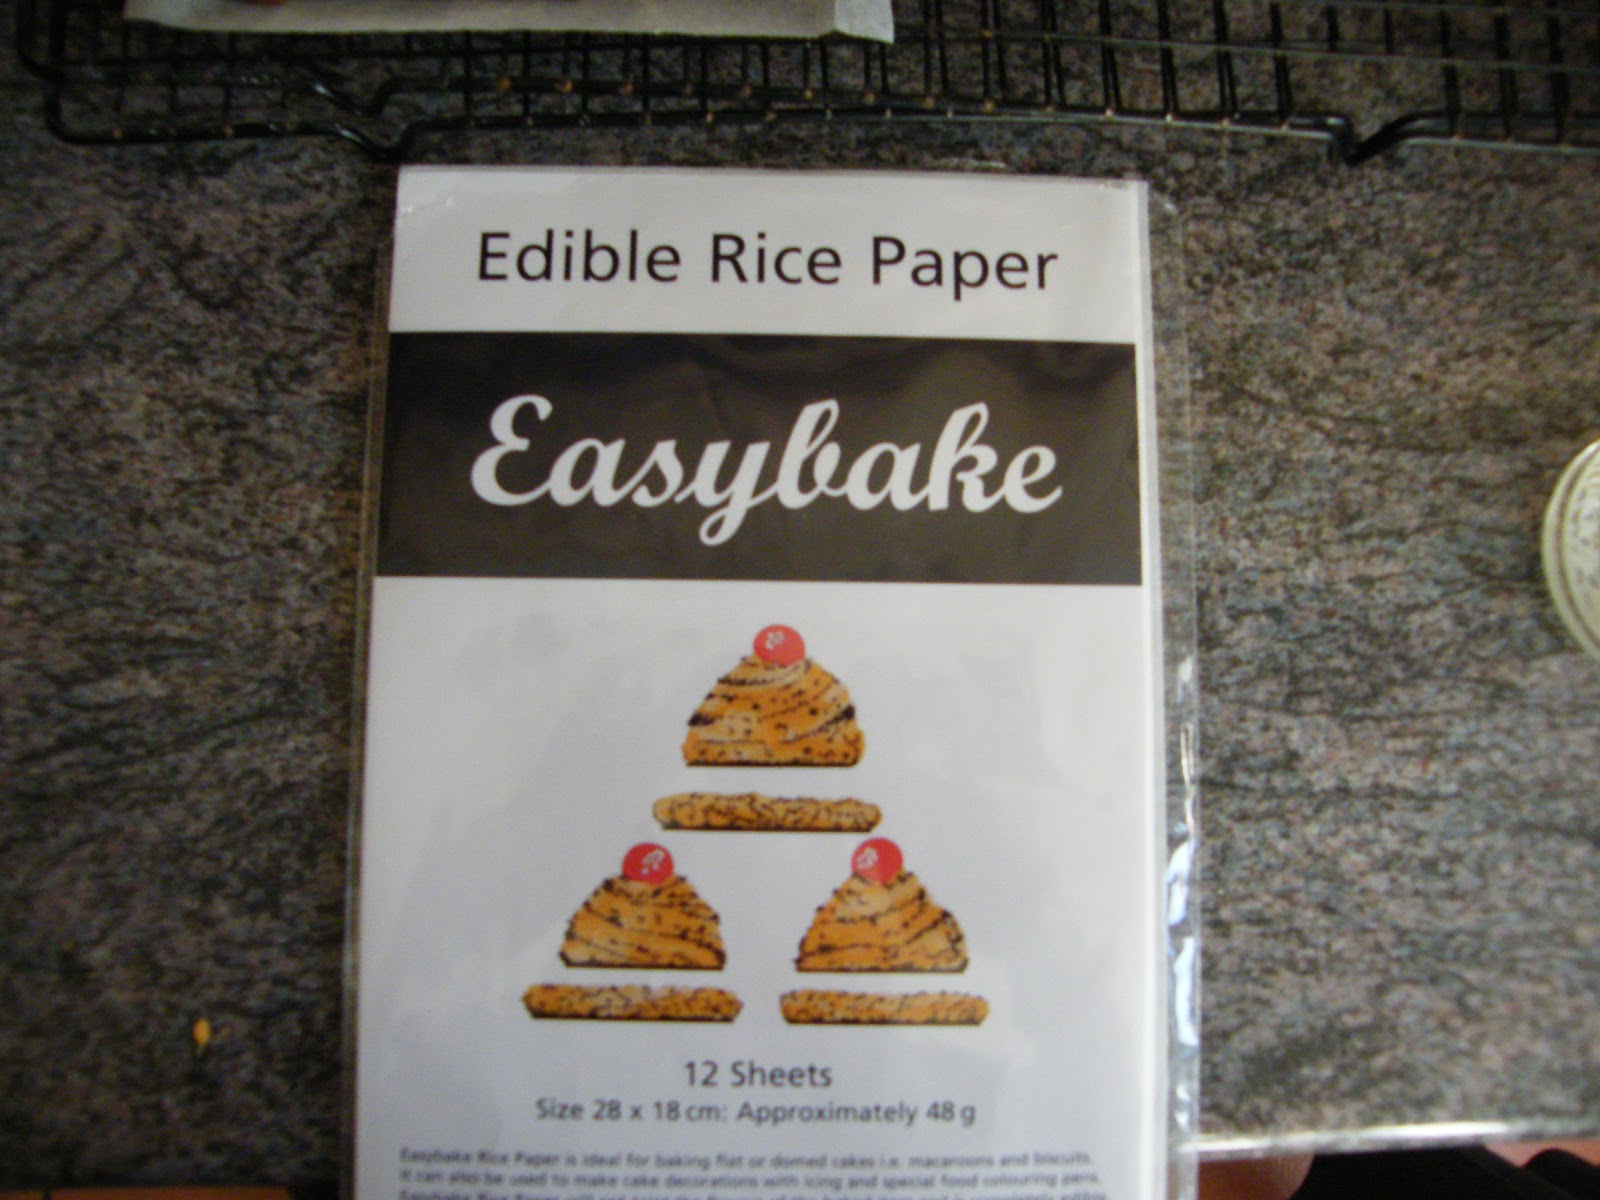
 My lantern is glued together with Royal Icing tinted Orange and Black and I used edible rice paper to line my lantern and give a more realistic look when lit. 


Maybe it's not a show stopper but I was pleased and think it would make a very nice centre piece for a Halloween Party.  


Gingerbread

  • 250g unsalted butter
  • 200g dark muscovado sugar
  • 7 tbsp golden syrup
  • 600g plain flour
  • 2 tsp bicarbonate of soda
  • 4 tsp ground ginger
  • 2 tsp cinnamon


  1. Heat oven to 200C/fan 180C/gas 6. Melt the butter, sugar and syrup in a pan. Mix the flour, bicarbonate of soda and ground ginger and cinnamon into a large bowl, then stir in the butter mixture to make a stiff dough. If it won't quite come together, add a tiny splash of water.
  2. On a piece of greaseproof/baking paper roll out dough to about the thickness of 2 £1 coins.  Cut out the shapes and transfer still on the greaseproof/baking paper to a cookie sheet.   Bake for approx 10-12 minutes.  


Monday, 1 October 2012

Cannoli Gannoli!


It's been a few years since I had a good Cannoli.  I used to make them back home where I could buy the ready made shells for them in the supermarket and just fill them.  I had actually bought the formers for making the shells and never even opened them.  I always thought that making Cannoli shells would be difficult and just never gave it a go.


My Cannoli formers made their way across the Atlantic with the rest of my household goods and lived in my loft until last Friday when my Husband invited some friends around for Dinner. I'm the only person I know that plans what to have for Dinner around Dessert.  But that is exactly what I did.  I recently saw an episode of Carfellas on the Discovery Channel where they were arguing over how to pronounce Cannoli (Cannoli or Gannoli).  It got me thinking about my Cannoli formers again and I decided I wanted to use them.  Italian night it is!

On the menu,
Bruschetta
Rosemary and Thyme Grilled Chicken served with Salad and Butternut Squash Risotto
and for Dessert, Cannolis!

It was a bit of work to make them, but not overly difficult and I was definetly glad that I did.  I know I will be using them again.

If you would like to have a go you will need

For the shells
A set of Cannoli Forms
415g (1 3/4 cups) unsifted plain flour
1/2 teaspon salt
2 tablespoons granulated sugar
1 egg, slightly beaten
2 tablespoons firm butter, cut into small pieces
about 60ml (1/4C) White Wine
Oil for deep frying

Sift flour with salt and granulated sugar.  Make a well in the centre.  In it place egg and butter.  Stir with a fork , working from centre out to moisten flour mixture.  Add wine, 1 tablespoon at a time, until dough begins to cling together (note the recipe says 60ml of white wine but I ended up needing more than this as the mixture still looked dry.  I just kept adding it a tablespoon at a time until the dough came together).  Use your hands to form dough into a ball.  Cover and let stand for 15 minutes.

Roll dough out on a floured board to about 1/16 inch thick.  You want them pretty thin as they will puff up when you fry them.  Cut into 3 1/2inch circles.  With rolling pin, roll the circles into ovals.  Wrap around the Cannoli Forms and seal the edge with egg white, pressing together. Turn out the ends of the dough to flair slightly.

Fry in oil heated to approx 350F (175C) for about 1 minute.  Watch carefully as sometimes it does not take a full minute to cook.  You want them to be lightly golden.  Remove with tongs and place on a paper towel to drain.  The Cannoli form shoud be cool enough to handle after about a minute so you can carefully slip the shell off the form and reuse the form . Cool the shells completely before filing.  You can make them a day in advance to save time if needed.

For the filling

950g ricotta cheese
350g icing sugar
125g chocolate chips
4 teaspoons vanilla

Mix Ricotta Cheese until very smooth.  Fold in icing sugar and vanilla.  Mix in chocolate chips.  Chill for several hours or overnight.

Use a Piping bag to pipe the mixture into the prepared shells.

Makes approx 25 Cannolis


Tuesday, 18 September 2012

Double Doozies


I love homemade from scratch cakes and usually that is what I bake.  But ( dare I say it?) I like Betty Crocker Cakes too.  I usually have at least one filling the cabinet for those last minute, off the cuff bakes.  Today I was in the mood for a Double Doozie so I decided to make them with my box of Betty Crocker Chocolate Swirl Cake Mix.  

If your not familiar, Double Doozies where made famous by The Great American Cookie Company and are simply 2 cookies sandwiched together with a buttercream frosting filling.  They are as indulgent as they sound and would be a challenge to finish a whole one :)  To make things easier you could make mini versions.  

To make these, first I made cookies from my cake mix.  To do this I used one box of Betty Crocker Chocolate Swirl Cake mix and went ahead and tipped all the chocolate into the mix.  Add 2 eggs and 1/3 cup (80 ml) oil and blend well.  Spoon mixture onto cookie sheets and bake at 170C (340F) for 10 - 15 minutes.  Let cool for 1 minute then transfer to cooling rack and cool completely.  Once cool fill cookies with Buttercream Icing and sandwhich together.

Enjoy!

Monday, 10 September 2012

Blackberry and Apple Cake

For my Daughter's Birthday treat we paid a visit to Chessington World of Adventures last week.  It's one of our family's favorite days out with the kids and if you have preschoolers (like us) they have a fantastic deal for Parents and Toddlers.  I was glad we got to get in that one last visit before Summer has officially come to an end and Ayla starts "Big Kid School".

On the way there I noticed one of the local farms had a sign out to come and pick your own Strawberries.  I thought it would be a fantastic way to spend a morning with the kids so we made plans to go the next day.  The kids had a blast at Parkside Farm in Enfield picking their own Strawberries and Blackberries.  Honestly the best berries I have ever tasted and we may have gone a bit overboard with the picking :)

They are definetly too good to go to waste, so this morning with a bit of help from my Daughter we baked ourselves a Blackberry and Apple Cake.  It was the perfect day for it.  After a couple of hot summer days this weekend today is windy and has that hint of Autumn in the air.  The smell of Berries and Cinnamon through the house is just heavenly.  If your in the mood for a bit of  comfort food I highly recommend you try this.


Blackberry and Apple Cake

Ingredients

  • 250g (1 Cup) Self-Raising Flour  
  • 175g (3/4 Cup) Butter 
  • 175g (3/4 Cup) Light Muscovado Sugar
  • 1/2 tsp Cinnamon
  • 2 Rounded tbsp demerara sugar
  • 1 small apple
  • 2 large eggs, beaten
  • zest of 1 orange
  • 1 tsp baking powder
  • 225g (1 Cup) Blackberries


  1. Preheat the oven to 180C/gas 4/fan 160C. Butter and line the bottom of a 1.7 litre loaf tin (see tip below). In a large bowl, rub the flour, butter and muscovado sugar together with your fingers to make fine crumbs. Measure out 5 level tbsp of this mixture into a small bowl for the topping, and mix in to it the cinnamon and demerara sugar. Set aside.
  2. Coarsely grate the apple down to the core and mix in with the eggs and the zest. Stir the baking powder into the rubbed-in mixture in the large bowl, then quickly and lightly stir in the egg mixture until it drops lightly from the spoon. Don't overmix.
  3. Gently fold in three quarters of the berries with a metal spoon, trying not to break them up. Spoon into the tin and level. Scatter the rest of the berries on top. Sprinkle over the topping and bake for 1¼ -1 hour 20 minutes. Check after 50 minutes and cover loosely with foil if it is browning too much. When done the cake will feel firm, but test with a skewer.
  4. Leave in the tin for 30 minutes before turning out, then cool on a wire rack. Peel off the paper before cutting. Will keep wrapped in foil or in a tin for up to 2 days.


Watching the time
A 9x20x13cm loaf tin is ideal, but if yours is shallower, the cake may cook faster, so test after an hour.


Recipe courtesy of BBC Good Food


Monday, 3 September 2012

Cinderella and Her Fairy Godmother


Salagadoola mechicka boola bibbidi-bobbidi-boo
Put 'em together and what have you got
bibbidi-bobbidi-boo...... 
and my Daughter's 4th Birthday Cake.   

She likes to look through the pictures in my cake books and magazines.  One day about a month ago I asked her to have a look and let me know what she would like for her Birthday.  She picked up my 2002 Wilton Yearbook which featured Doll Cakes and that was it.  At first I wasn't keen on the idea.  Doll cakes are not my favorite but my girl wants what she wants and it is after all her Birthday.  I was sure I could come up with an idea that I would like as well.  

I knew I did not want to use a doll pick topper.  So I had to decide on a Disney Princess to use.  She had never seen Cinderella and didn't have any Cinderella dresses or toys so I thought it would be perfect to introduce her to one of my childhood favorites and try to make her Birthday as magical as possible.  I rented a copy of Cinderella and she instantly fell in love with it.  

Now for the cake.  As I mentioned Doll Cakes are not my favorite thing.  I really wanted there to be something more to it so I trawled the internet until I found this picture.  The magical moment the Fairy Godmother turns Cinderella into the beautiful Belle of the Ball.  That was it, the cake would be Cinderella and her Fairy Godmother.

So here was the inspiration....... 


.........and the result. 


For the Cinderella cake I purchased the Cinderella Doll from the Disney Store.  I used the Wilton Classic Wonder Mold Tin.  I had come across a blog post I loved by Corner House for making amazing Doll Cakes so rather than post my own instructions if you click on the Corner House link above her cakes are amazing.  I was really really happy with how my Cinderella turned out following her instructions. I placed Cinderella on a 10in round drum covered with fondant and embossed with the  PME Star Cutter

My Fairy Godmother was a Rice Krispie Cake covered with Buttercream and Fondant and I used Fondant to model her face and hands.  I sat her on a 8in round drum covered with fondant and embossed with the PME Star Cutter.   I used a small sparkler for the wand with the idea it would look impressive to light this along with the candle when we sung Happy Birthday.  It would have, but unfortunately my sparkler was more of a fizzler and we only got a brief moment of the "magic" I had envisioned before it quickly burnt out and wouldn't relight.   Ohhh, well.

To complete the ensemble I created a wired starburst.  I created several stems of stars using a set of PME Star Cutters and 28 Guage Wire, then taped with white floral tape to a long piece of craft modeling wire which was great for this because I could bend and shape it anyway I wanted and it held the shape and would stand up like I needed to wrap around Cinderella.

And that was it.  Here they are all set up for the day of the party.


Getting ready to sing Happy Birthday :)


A Homemade Castle Pinata and a Bouncy Castle.  It was supposed to be a Princess Bouncy Castle but the company only wrote "Disney" when I placed my reservation instead of "Disney Princess" so we got a Disney one instead.  Nevermind, the kids had a blast and the Boy's where probably secretly grateful LOL.


The Cinderella Cake may have turned out lovely 
but my princess was definitely the Belle of the Ball :)


Thursday, 23 August 2012

The Rapunzel Tower Birthday Cake


Time goes by so quickly.  It's hard to believe it has already been a year since my Daughter's 3rd Birthday.  And now here I am planning her 4th.  That cake will have to wait another week to be revealed. Her party is September 1st. But as I've been thinking about how to put this project together I thought I would share with you last years cake.  A Rapunzel Tower Birthday Cake.

The inspiration for this cake was easy.  Here's a photo of Ayla just a few weeks before her birthday.  It had to be Rapunzel.


"Mom, look at my long lovely hair"


We have watched that film more times than I can count and the first thing I was drawn to was the beautiful tower.  To make this cake I had to have a stand that would support the structure yet be somewhat invisible.  I had my husband make one for me.  The bottom was a 14in round board and the top was a 10in round board connected by a long wooden pole which he used nails and glue to hold together to ensure it was all stable and secure.  Please forgive my lack of pictures but at the time I hadn't started blogging and never took photos of projects as I was working on them.  But below is an image of what the stand should look like.  
Once you have your stand the rest if realtively easy.  I used a 10in Round Cake for the House part of the tower.  I cut out a small square for the window.  I used Rice Krispie Treats tinted a stone colour with a little food colouring and built them up around the centre of the stand to make up the tower.  I also used Rice Krispie Treats to form the roof of the House.  I used green fondant to cover the board for the base of the tower and white fondant to make up the partial plastering effect on the walls of the tower and piped buttercream vines and flowers trailing up the tower.  For the House I decided to ice and decorate in buttercream and only used fondant to make up the roof tiles and decorations.

The biggest challenge for me came when it was time to make Rapunzel.  I just don't like making fondant models and I really wanted it to look like Rapunzel. My solution was to print out a picture of Rapunzel and to press it into a piece of fondant molded to look like her hair.  I rolled the long piece of fondant (hair) around a piece of craft wire to give it support so it would not break off from the weight.


And here it is.  Ayla's 3rd Birthday Cake.


The Birthday Girl


Getting Ready to Blow out the Candle


Tuesday, 21 August 2012

Hey Diddle Diddle

Hey diddle diddle the cat and the fiddle, 
the cow jumped over the moon.  
The little dog laughed to see such fun
and the dish ran away with the spoon.


When my sister in law called me about doing my nephews 1st Birthday Cake I was so excited.  I knew right away that I wanted to do a Nursery Rhyme Cake and she was kind enough to give me free reign with the design.   I wanted this cake to have a story book effect.  After painstakingly stalking the internet for ideas I came across the Hey Diddle Diddle motif Baby China from my old employer Tiffany & Company.  I instantly loved the characters and decided this was it.

I printed off and cut out the images then traced them as best I could onto my fondant.  Then painted the cutouts with dusting powders mixed with a bit of vodka.  I then placed each cut out onto a round fondant plaque decorated with cloud and moon motifs as if the characters where all floating in the sky in a child's dream.  I used a black food colouring pen to trace over the cutouts to give it a story book artwork feel.

The biggest challenge for me with this cake was the writing.  The cake itself was mostly buttercream apart from the fondant plaques so the writing needed to be piped buttercream.  Unfortunately piped writing is not one of my strong points and as an additional challenge the writing needed to be spaced perfectly to fit right around the cake.  To do this I made a template in powerpoint and used wordart to type the nursery rhyme in a circle.  I then drug the circle to the size it needed to be to fit my cake and lastly inverted the image before printing it out.  I then placed a piece of parchment paper over the printout and piped the design onto the parchment paper in the same colour as my iced cake.  I then turned the wax paper over and aligned it on top of my cake, piping side down.  Then used a brush to gently trace over the writing and then lifted off the parchment paper.  This transfers the writing from the parchement paper onto the cake.  Once the transfer was on the cake I then over piped the message in yellow. The only thing I would change is once it was done I wished I had chosen black for the writing.  But it was so time consuming up to that point I wasn't about to do it over just to change the colour, so yellow it is.

Overall I was very pleased with the outcome and since we went to this party I can honestly say it tasted lovely as well.  If you are looking for an incredible tasting sponge try Jane Ashers recipe found here. Follow the instructions to the T and get ready for a treat.  My mouth is watering just thinking about it.