

I love making Carnations :). They are such a pretty flower and once you know the steps really easy to put together.
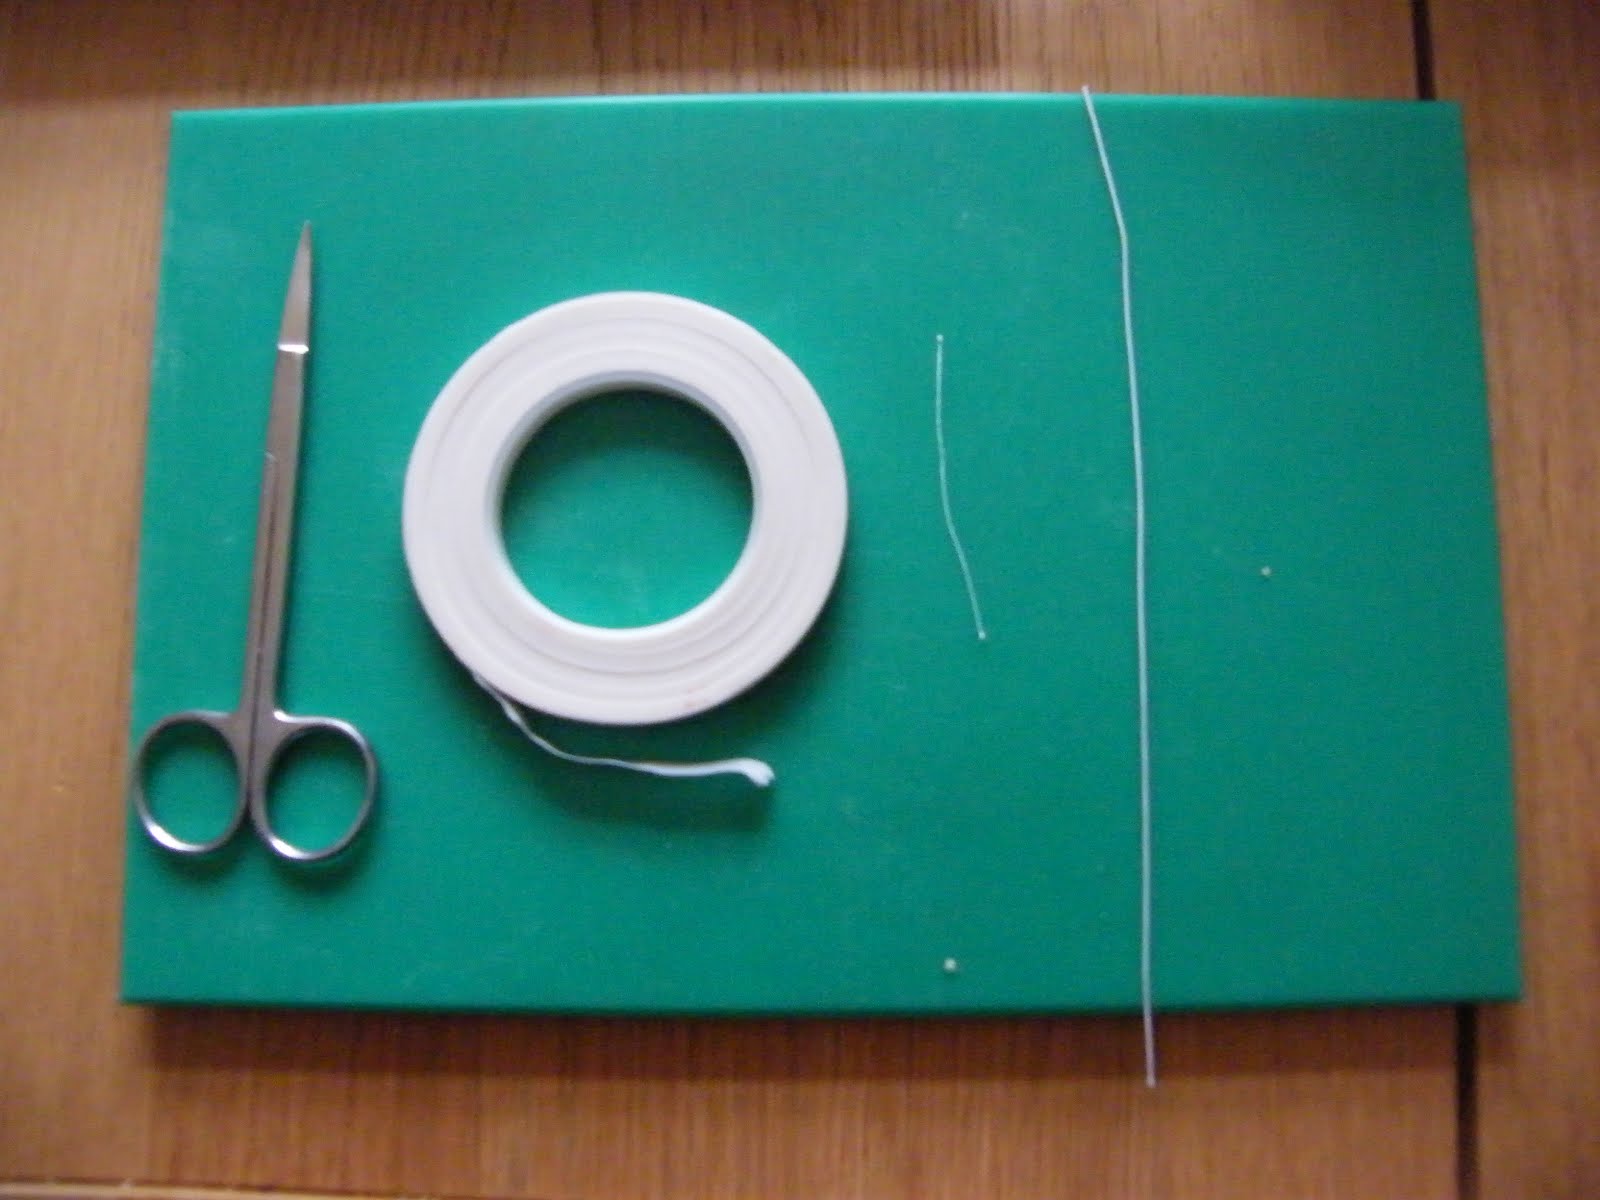
Items you will need to make a wired Gumpaste Carnation
Gumpaste
22 Gauge Florist Wire
White Florist Tape
Green Florist Tape
Tiny Stamens
PME Carnation Cutter Set CA660
A Small Rolling Pin
Edible Glue
Decorating Brushes
PME Calyx Cutter Set CA505
Foam Pad Set including Mexican Hat Pad
Fine Scissors
Cocktail Sticks
Cornflour for dusting (I tie mine in a Muslin Cloth with a rubberband to create a dusting bag)
Concentrated Paste Colour
Dusting Colours
I also recommend
A Nonstick Board
A Gumpaste Storage Board
A Gumpaste Flower Drying Rack
In this first step you'll need to build a foundation for your flower. You'll need a 22 gauge wire, some white floral tape, a fine stamen (if your using stamens, more on this later) and a pair of fine scissors.
Step 1. Cut a fine stamen in half. Start the tape onto your wire and tape your 2 stamens to the wire.
Tip (in case you've not used floral tape before) you need to pull the piece of tape taught before you try to put it on the wire. Stretch it as far as you can without breaking the tape.
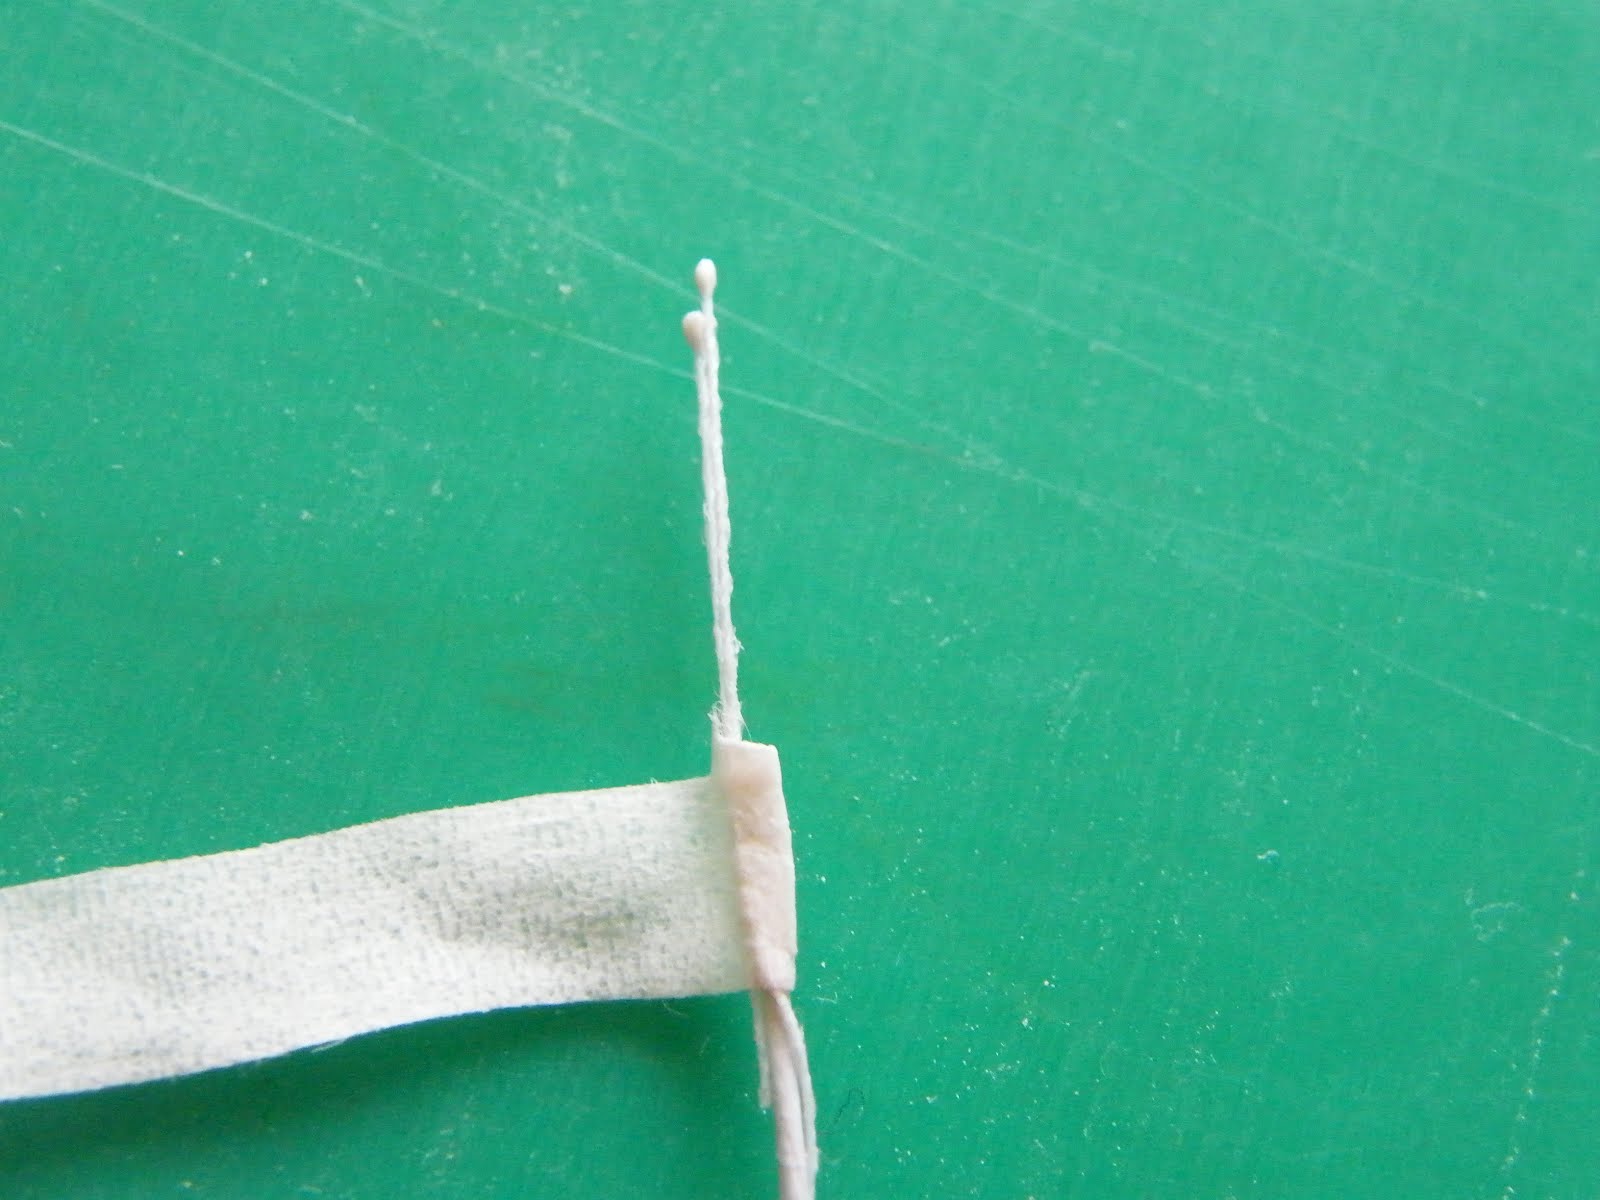
Step2. Build up a base for your flower by wrapping the tape into a ball at the end of the wire. The ball needs to be about the thickness of a pea, slightly smaller. Then wrap the tape down to secure and tear it off.
 Step 3. Choose your paste. Don't use any cornflour while rolling out your paste as it will cause your flowers to dry out to quickly. Use trex/crisco if you find your paste is sticking to the board or rolling pin.
I really like two-tone carnations so in the next few steps I'm going to show you how to get this effect. But carnations come in all sorts of colours so if your going for a solid colour you can skip to Step 7
 Step 4. Roll out your paste and cut out a small shape. Here I have used the smallest of the
PME CA660 Carnation Cutter Set. Then roll out your next colour.

Step 5. Place one of the small Carnation cutouts under your paste. Then place the other on top of your paste.

 Step 6. Carefully roll over the cutouts to blend and flatten them into your paste.
 Step 7. Use your larger Carnation cutter to cut out the shape. Here I've used the largest cutter from the PME CA660 Carnation Cutter Set. Don't worry about lining up the cutter perfectly. The imperfection is what gives the flower a more realistic touch when it is finished.
 Step 8. You need to cut out 3 Carnation Shapes to make your flower. To save time I cut mine out at once and store in a flower storage board which keeps them from drying out while I work.
 Step 9. To make your flower you'll need cornstarch for dusting, a cocktail stick, a brush and some squires edible glue. I also have a non stick rolling out board which I highly recommend (you'll see why in a minute).
 Step 10. Now it is OK to use cornflour to keep your flowers from sticking. Lightly dust your board and the top of your carnation cutout.
 Step 11. Use a cocktail stick to roll the petals flat. Do this on your board or table if you don't have a rolling out board. DO NOT use your foam pad, it is too soft. I use my cocktail stick like a mini rolling pin and roll each individual petal all the way around until it is thin and ruffled.
 Step 12. Thread your cutout onto the wire.
 Step 13. You'll need to put a bit of edible glue on your cutout and fold it over onto the base you made earlier. Sorry I don't have enough hands to show you where to put the glue and take a picture at the same time but just note you don't want any glue on the petals, just in the centre of your flower.
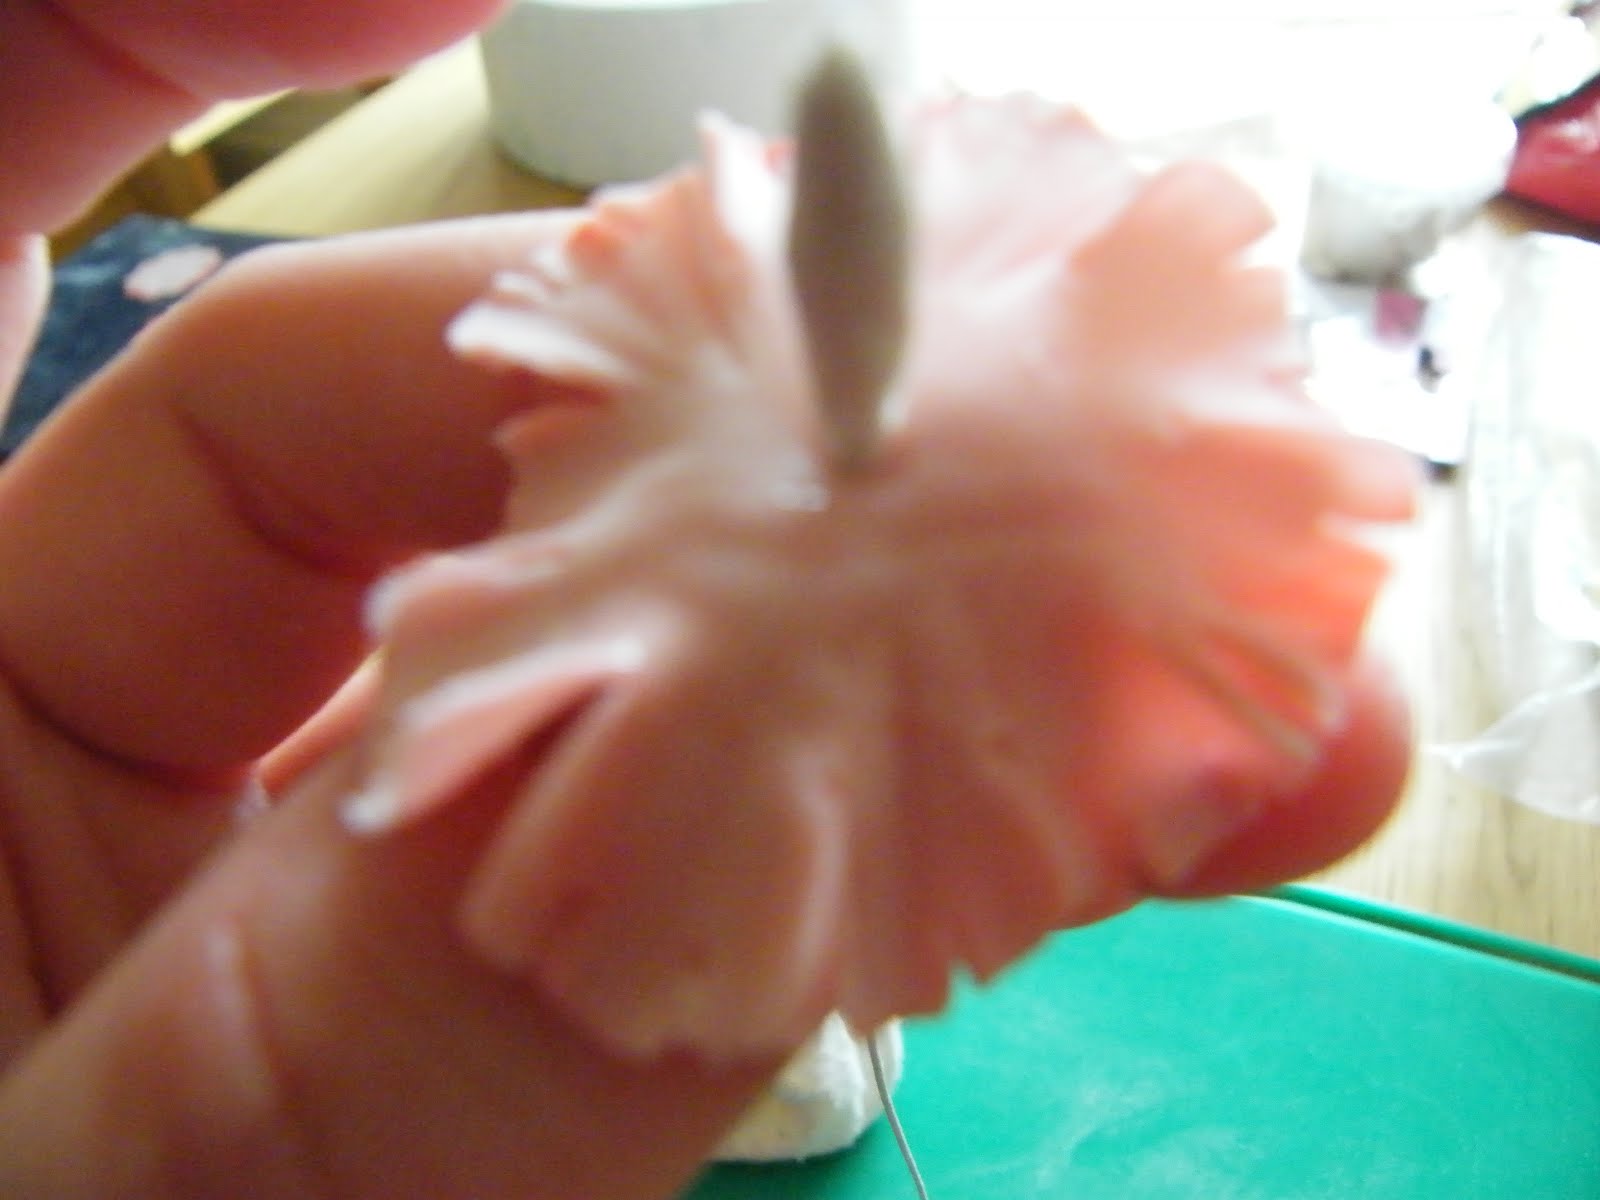 Step 14. Fold the cutout in half and press in the centre to secure to the base/wire.
A note about the stamens. After I got to the end of this tutorial I realized I left the little balls on the top. Technically you should cut these off and I did when I noticed it. This is if you are using stamens at all. I do because I'm a perfectionist. But with this particular flower to be honest you really can't see them so if you want to save the fuss over the stamens don't worry about using them, no one will notice (unless your entering a competition or something).
 Step 15. Use a little glue (sorry again that I couldn't do a picture of the glue but hopefully you get it, just don't glue the petals). Place a dap of glue and fold the cutout in half like pictured below.
 Step 16. Turn the flower around and repeat Step 15 with the other side.
 You now have the first layer of your carnation.
Step 17. For the second layer, roll and frill the cutout as in step 11.
 Step 18. Thread onto your wire. Glue in the centre and carefully shape around the 1st layer. A note about adding the second and third layer, don't fiddle with it too much trying to get it perfect. You'll end up making it worse or having it fall off the wire. I learned this the hard way :). Just make sure the layer is secure.
  Step 19. For the third layer roll and frill as in step 11. And repeat as in step 18.
 Step 20. One of these day's I'm going to invest on a nice drying rack for my flowers but until then I hang them where ever I can. Hang your flower upside down and let it dry, overnight is best.
 Step 21. Making the calyx. Your going to need a calyx cutter, some green paste and a mexican hat pad. I've used the smallest Calyx Cutter from the PME CA505 Calyx Cutter Set t. Make a cone shape with your paste and insert it into one of the holes of your Mexican Hat Pad. I've used the third largest hole on my pad.

 Step 22. Press the paste into your pad and use a rolling pin to roll out the paste. Then remove.


 Step 23. Use the end of a brush to roll out the paste thinner. Working from the base outwards. Then cut out your calyx shape.


 Step 24. Turn your calyx over and use your ball tool to smooth/ thin the edges of the calyx.
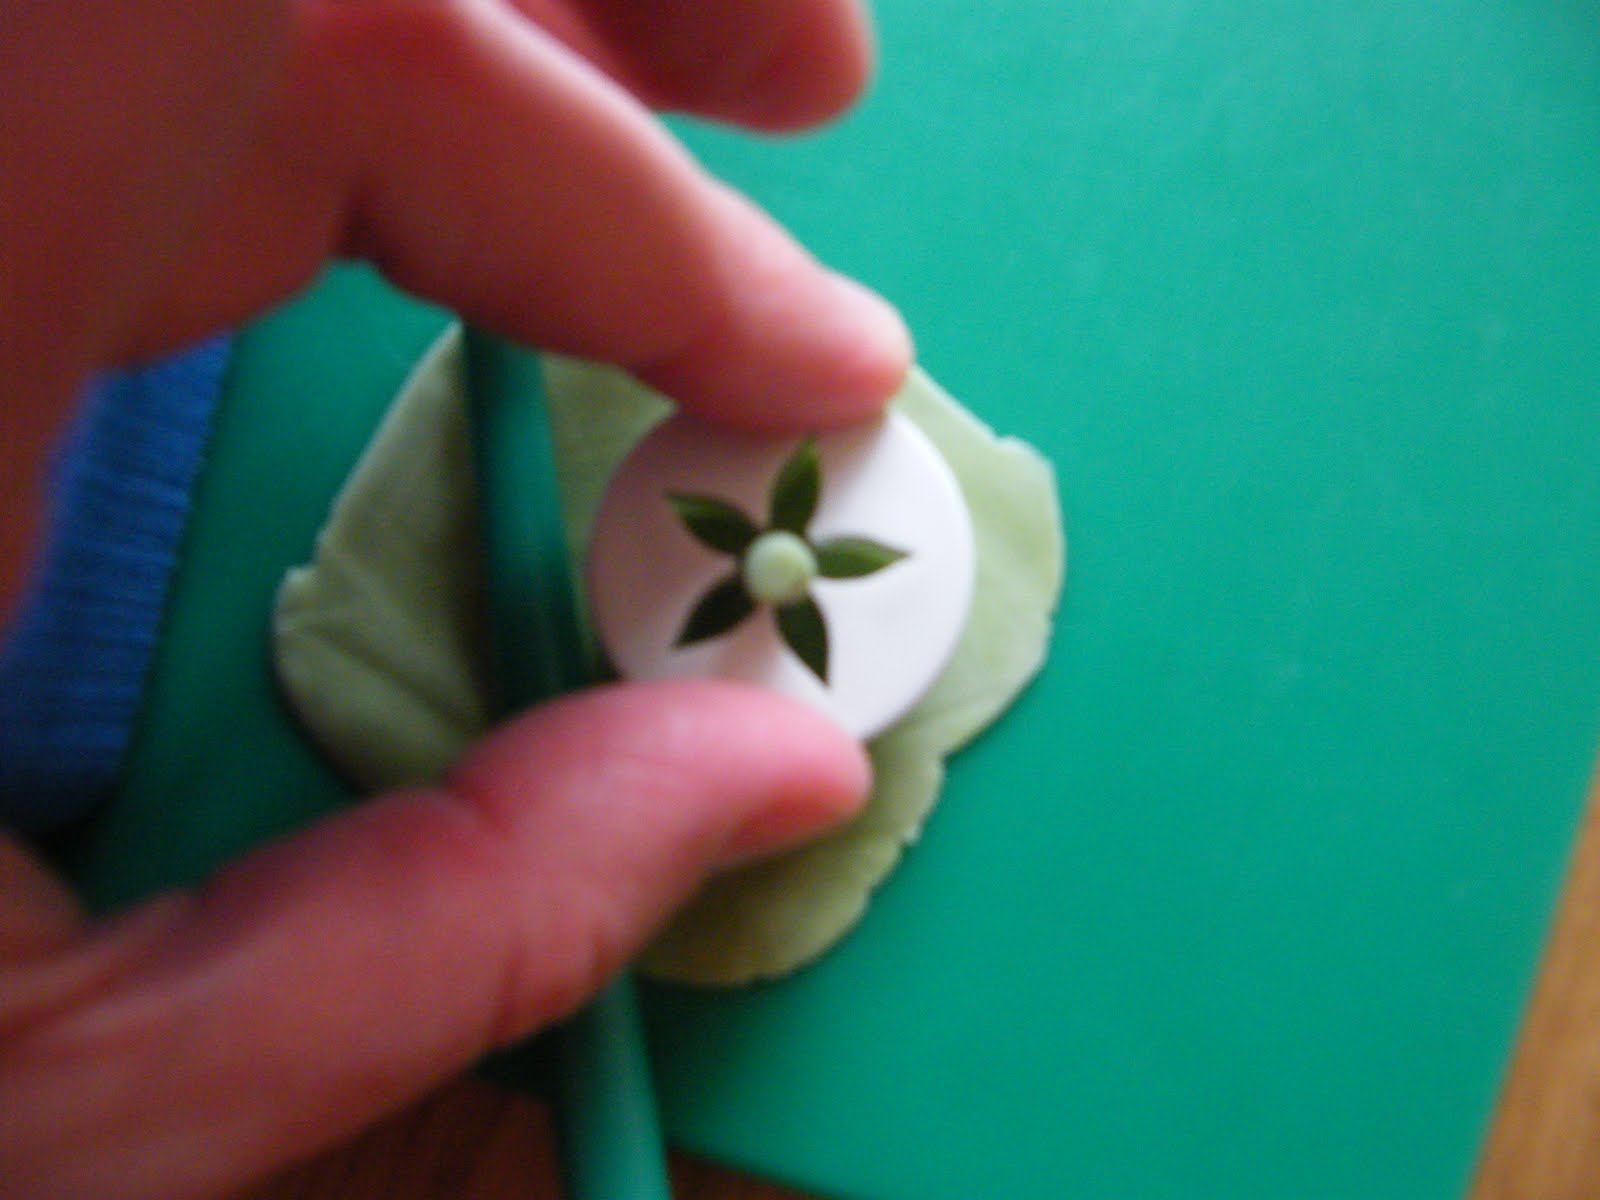
 Step 25. Use the end of a brush to hollow out your calyx.
 Step 26. Use a pair of fine scissors to cut the petals at the bottom of your calyx.
 Step 27. Thread your calyx onto the wire. And with a little glue secure it to your flower.
 It should now look similar to this. (Note, this is the point at which I realized I forgot to trim the tops off the stamens, so I cut them off now).
 To bring out the two tone effect I used Sugarflair Ruby Dusting Powder and dusted over the tops of the petals. And then a little Evergreen on the calyx.
 My finished flower.
Hi Jennifer, what a beautiful result. Just wondering if I wanted to achieve a bigger and fluffier carnation what you recommendation would be or even a small really fluffy?
ReplyDeleteUn tutorial estupendo.
ReplyDeleteEl clavel ha quedado realmente bonito y natural!
Un saludo. Sonia
Thank you! So beautiful and very helpful!
ReplyDeleteI've always wanted to try making gumpaste flowers.
ReplyDelete